注意
转到末尾 下载完整的示例代码。或者通过 JupyterLite 或 Binder 在浏览器中运行此示例。
灯光属性#
控制渲染网格的灯光方面,例如环境光、漫射光和镜面光。这些选项仅在 lighting 参数传递给 add_mesh 为 True 时起作用(默认情况下为 True)。
可以通过将 lighting=False 传递给 add_mesh 来关闭给定网格的所有灯光。
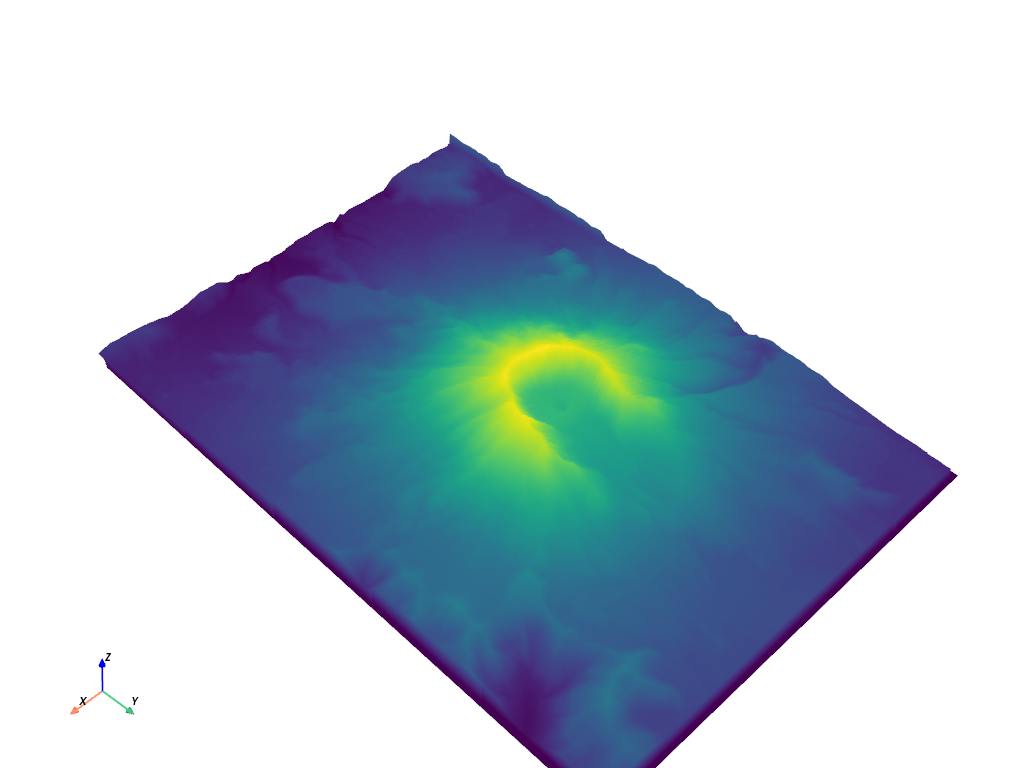
首先,让我们看一下使用默认灯光条件的网格

没有灯光会怎么样
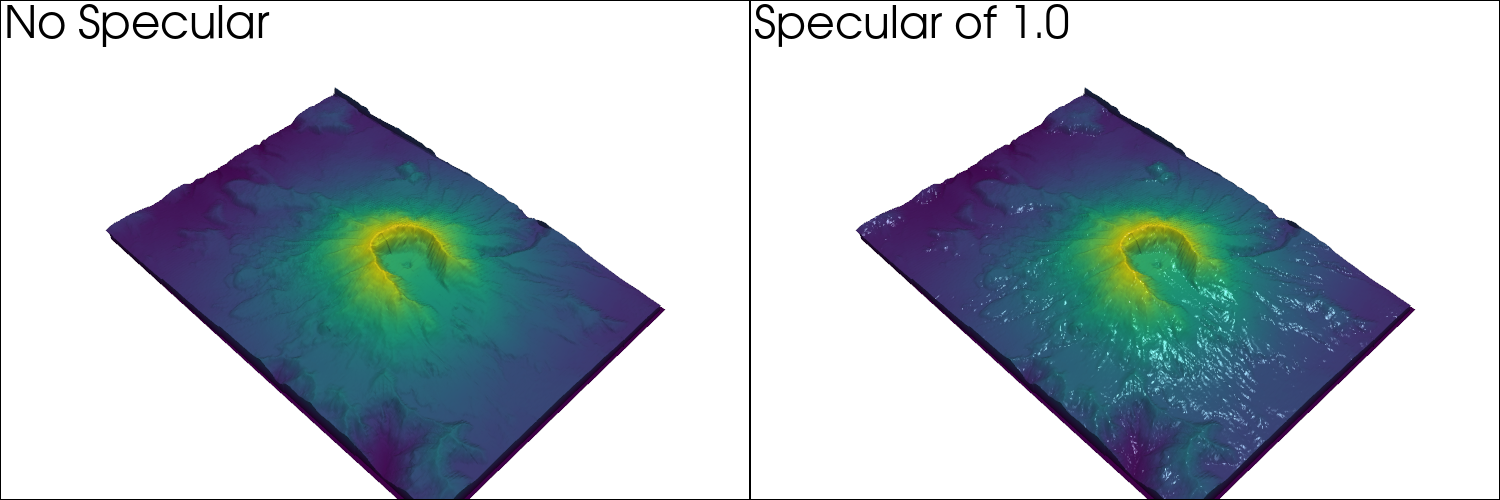
镜面属性演示
p = pv.Plotter(shape=(1, 2), window_size=[1500, 500])

p.subplot(0, 0)
p.add_mesh(mesh, show_scalar_bar=False)
p.add_text("No Specular")

p.subplot(0, 1)
s = 1.0
p.add_mesh(mesh, specular=s, show_scalar_bar=False)
p.add_text(f"Specular of {s}")

p.link_views()
p.view_isometric()
p.show(cpos=cpos)
仅镜面
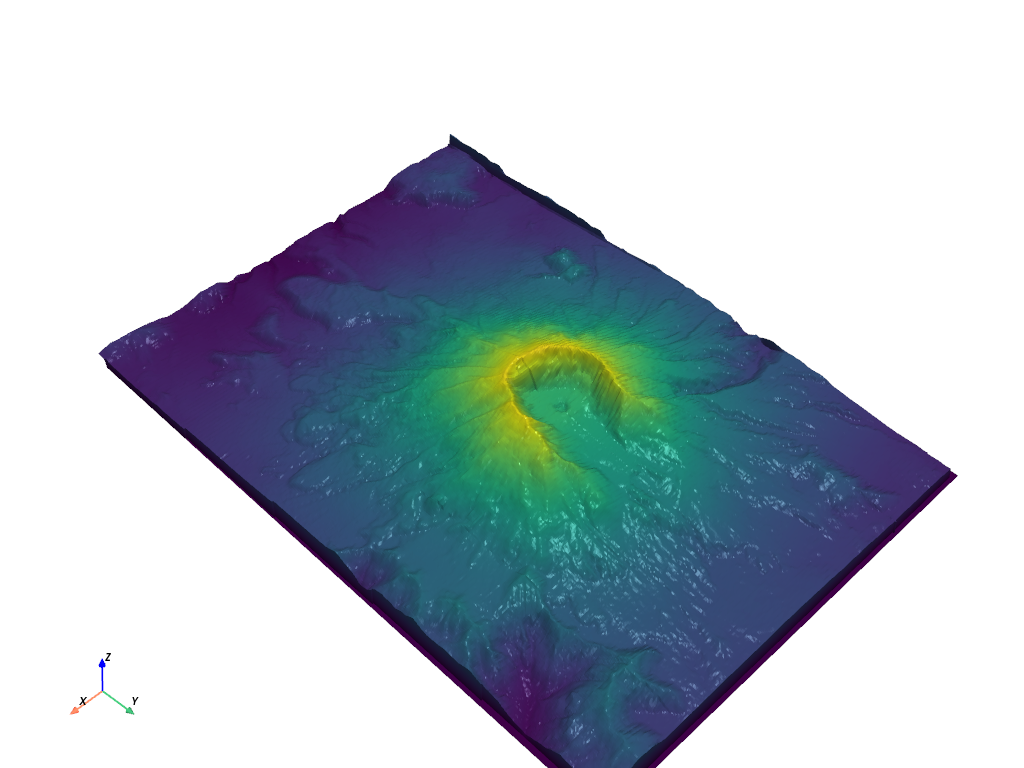
镜面强度

所有三种属性一起使用演示

脚本总运行时间:(0 分钟 10.601 秒)
估计内存使用量:246 MB